Site Preparation
So you have decided on installing a native plant garden. Congratulations! Native gardens not only enhance human spaces with beauty and interest year round, they become homes, buffets, and shelter for local wildlife. Now that the decision to plant has been made, it’s time to prepare the site!
Choosing a location
Choosing a location for your native planting is the first step to a successful garden. This may be easy and obvious for some homeowners who only have a few options available. This can be very complicated for homeowners or business owners with large areas of land that need to be converted to native habitat.

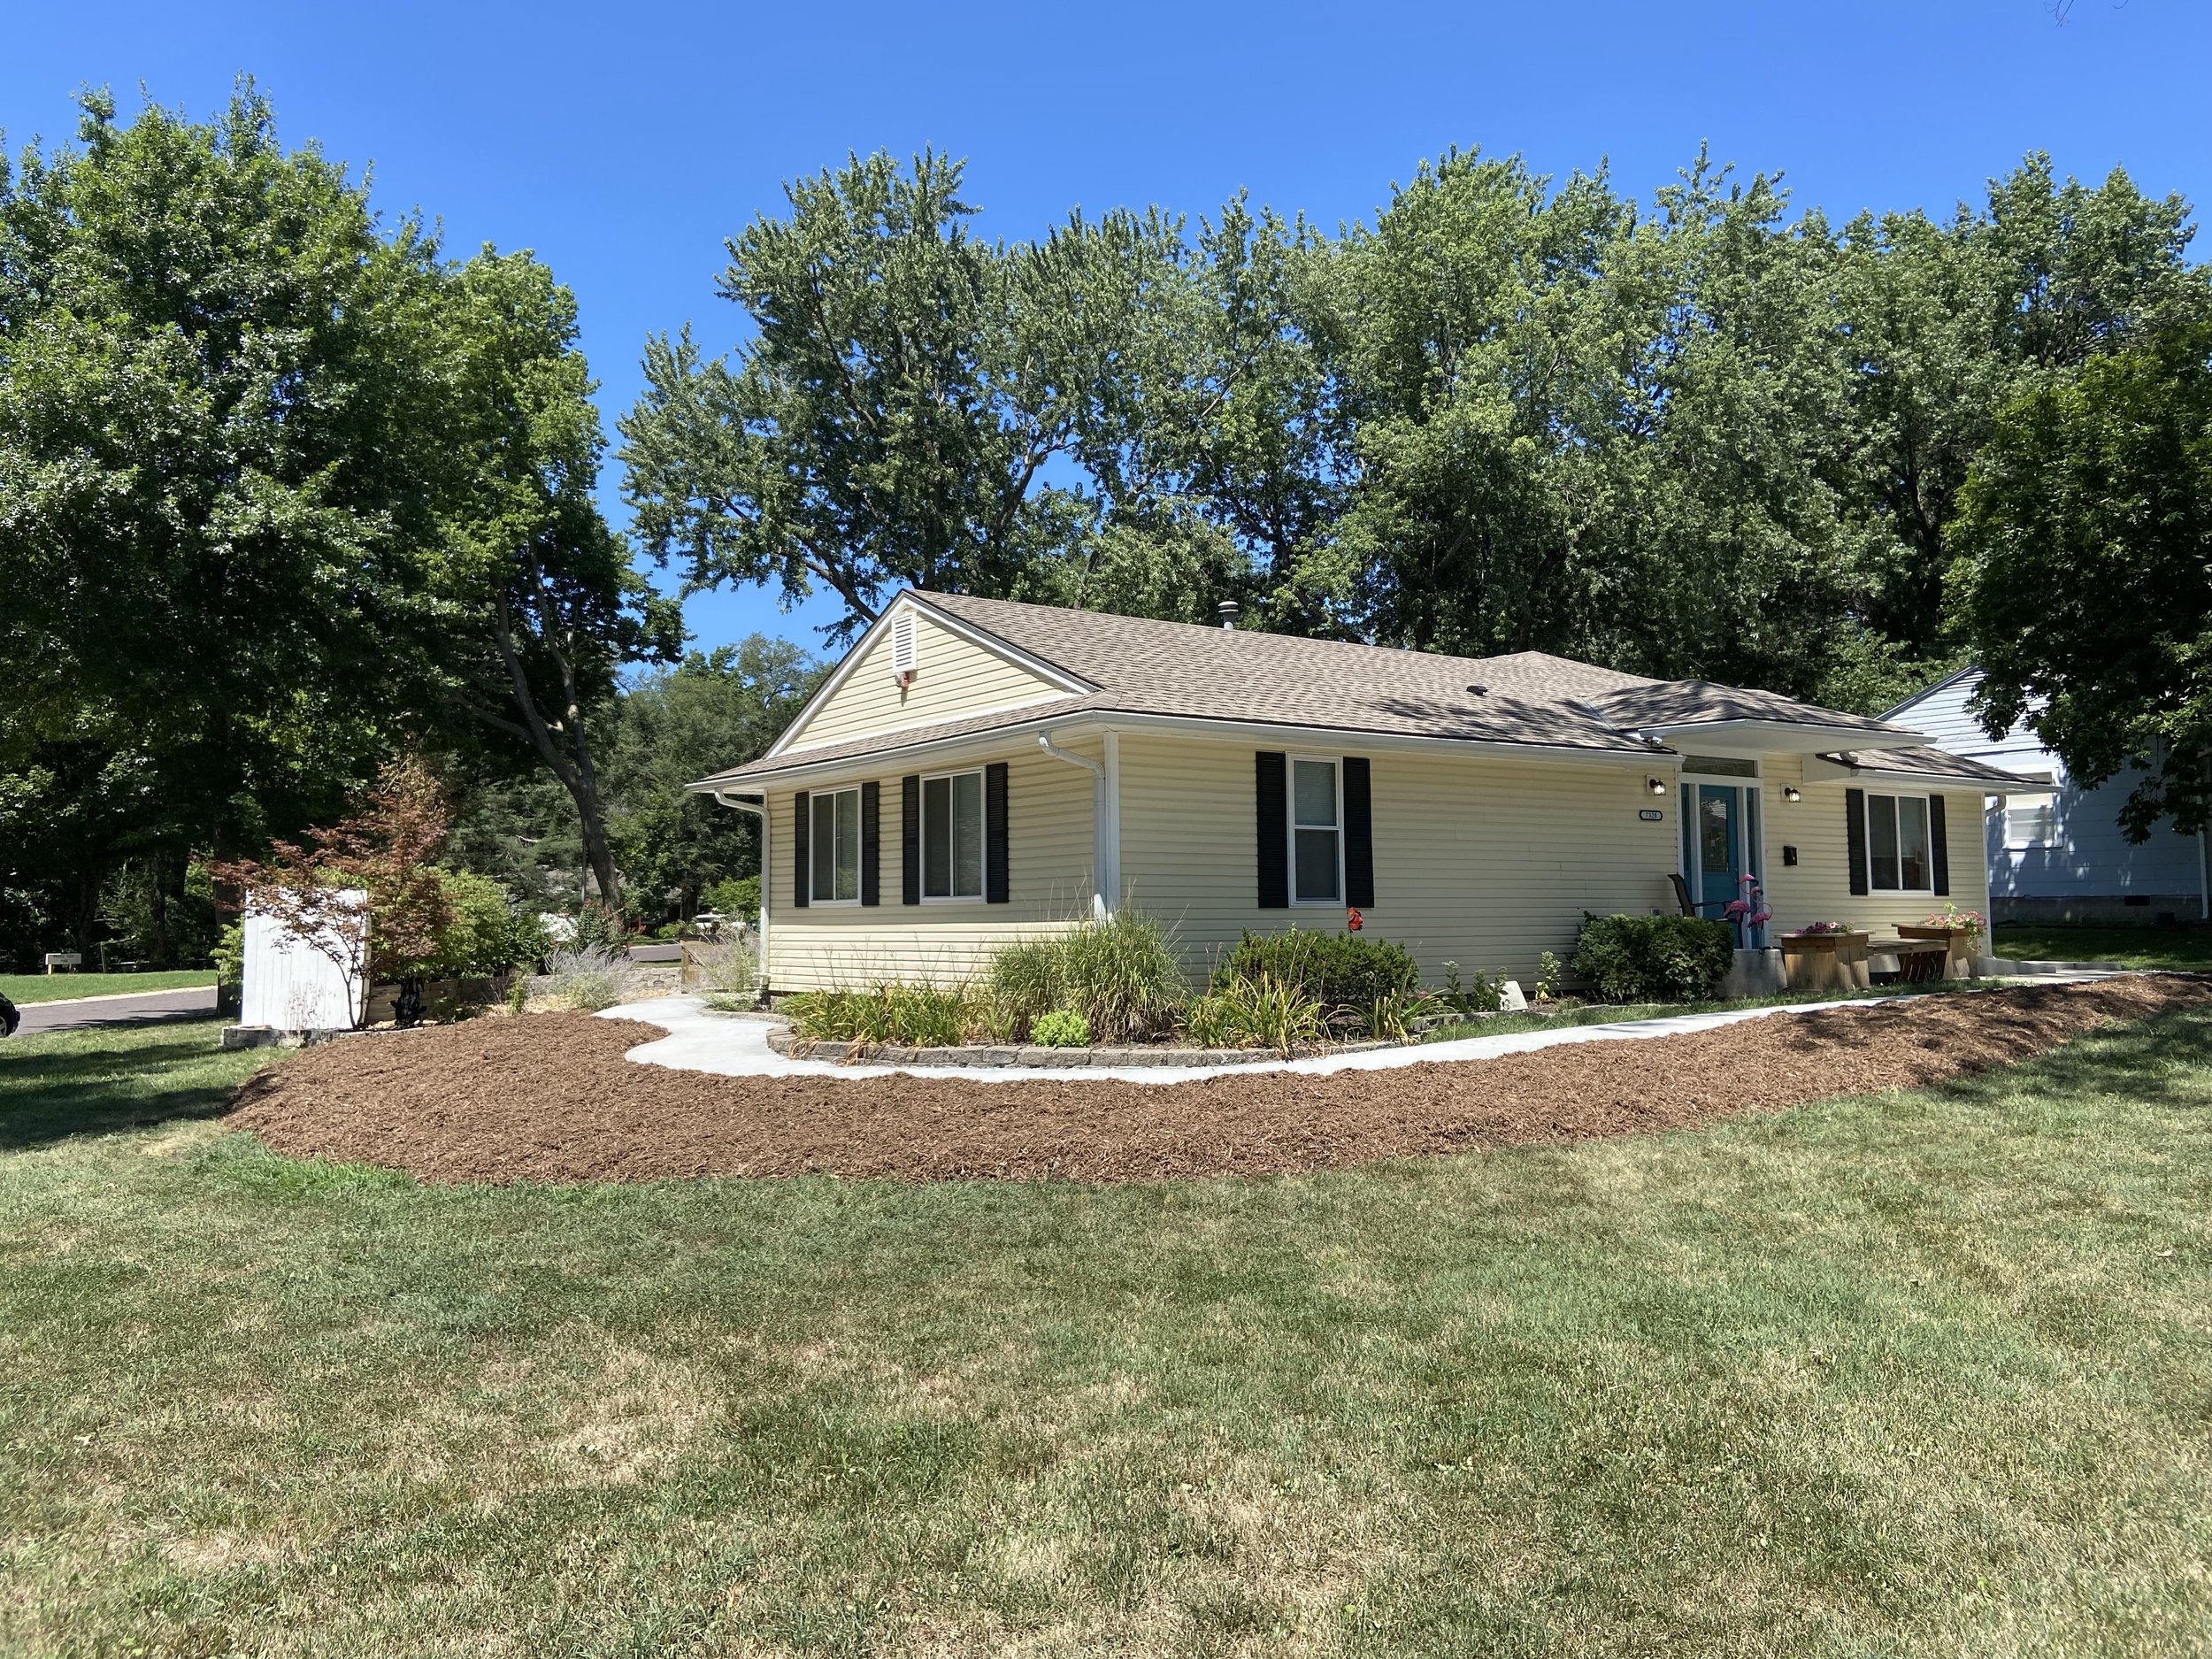
A very beneficial area to create gardens in urban or suburban yards are around existing trees in the yard. These are often called Soft Landings because they provide the insects that use the trees in your yard a safe habitat to carry out various portions of their lifecycles. Spaces around existing focal points, such as ponds, fountains, rock walls or against fences are also great places to start.
Site Observations
As you begin your site preparations, take note of your desired garden location
sun exposure: Sun exposure changes throughout the year as the sun moves. It will also change as trees leaf out in the spring and lose their leaves in the fall. Take note of how the light changes through the desired planting area and make detailed notes of how much light each spot gets and when. Afternoon sun is much stronger than morning sun.
moisture content of the soil: The moisture content of the soil will change throughout the season, but take note of any anomalies. Is this an area by a downspout that will stay wetter than the areas around it? Is this area on a steep hill that won’t hold much moisture? Is this just a general area of a yard with average moisture?
composition of the soil: What does the soil feel like when you dig into it? Around older houses, often times the soil is fairy good and ready to plant in. If there have been any significant disturbances to the soil, like a house getting built, or a major construction project, you may want to amend the soil by adding compost.
water run off during the wet season: Noticing if you experience runoff from your neighbors’ yards or other areas on your property can help you decide to plant deeper rooted plants to slow water, or help you choose a good site for a rain garden.
Once you have decided on your garden site and taken note of the planting conditions, it is time to prepare the site.


Vegetation removal:
Before you can being planting your new native garden, you will first need to remove or kill any undesired vegetation. There are many ways to do this herbicides, smothering, Solarizing, sod cutting, and tilling or discing are some of the most common ways . We are going to briefly go over our preferred methods.
Herbicide:
Herbicide is by far the most effective way to kill vegetation prior to planting. Using a nonselective herbicide like glyphosate works very well. Before using herbicides always read the label, wear proper PPE, and use proper precautions to not harm non-target species. Simply spray the area using the correct concentration and wait for allotted amount of time for die off to occure, make sure to ready label to see when the area is safe to plant.

Smothering:
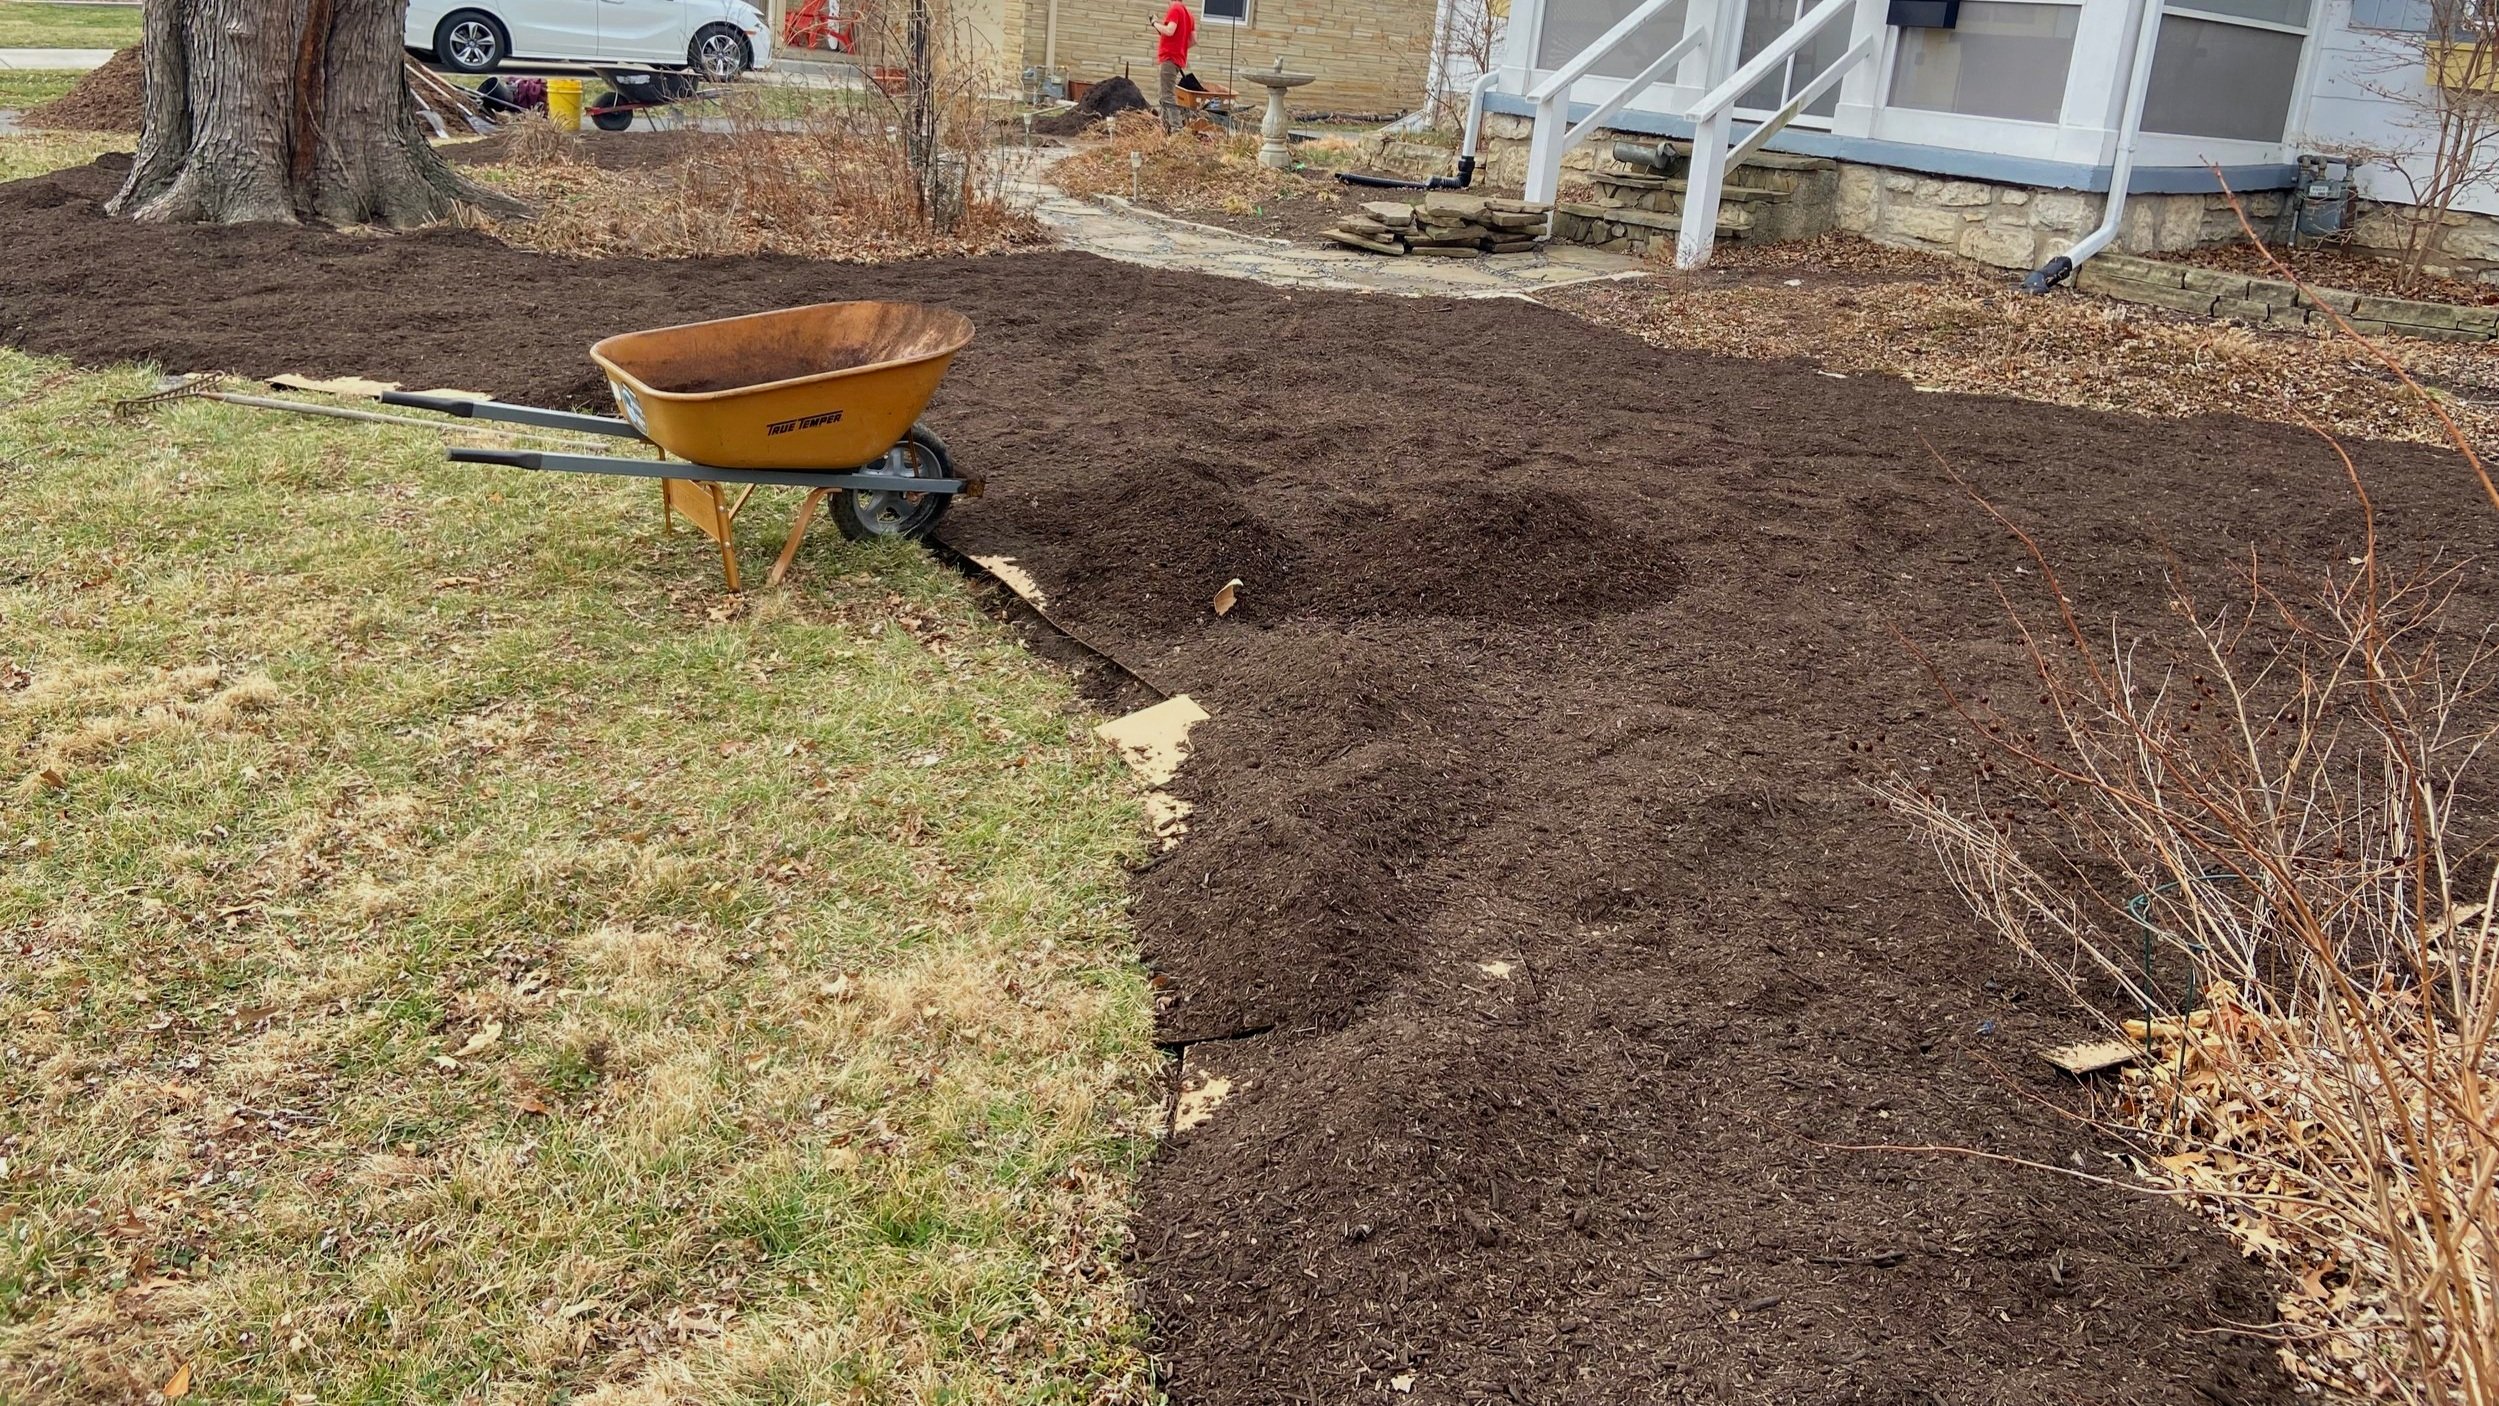
This method does not work well if you have a Bermuda grass lawn, lots of deep rooted weeds, or vines. To smother the lawn, firstly dig a small trench in the shape of your new bed, rake that soil out smoothly over inside the new bed. Next, use cardboard or biodegradable weed barrier to cover the area where you would like your new native plant garden.

You will then need to cover the area with at least 2 inches of compost. If you would like a fine mulch in, now is a good time add mulch. Don’t put more then a 1 inch of mulch down for now, it will just make the planting phase more difficult.
Once that is completed, let the area sit for at least 3 weeks. Keep the area weeded of any vegetation that may try to poke through.

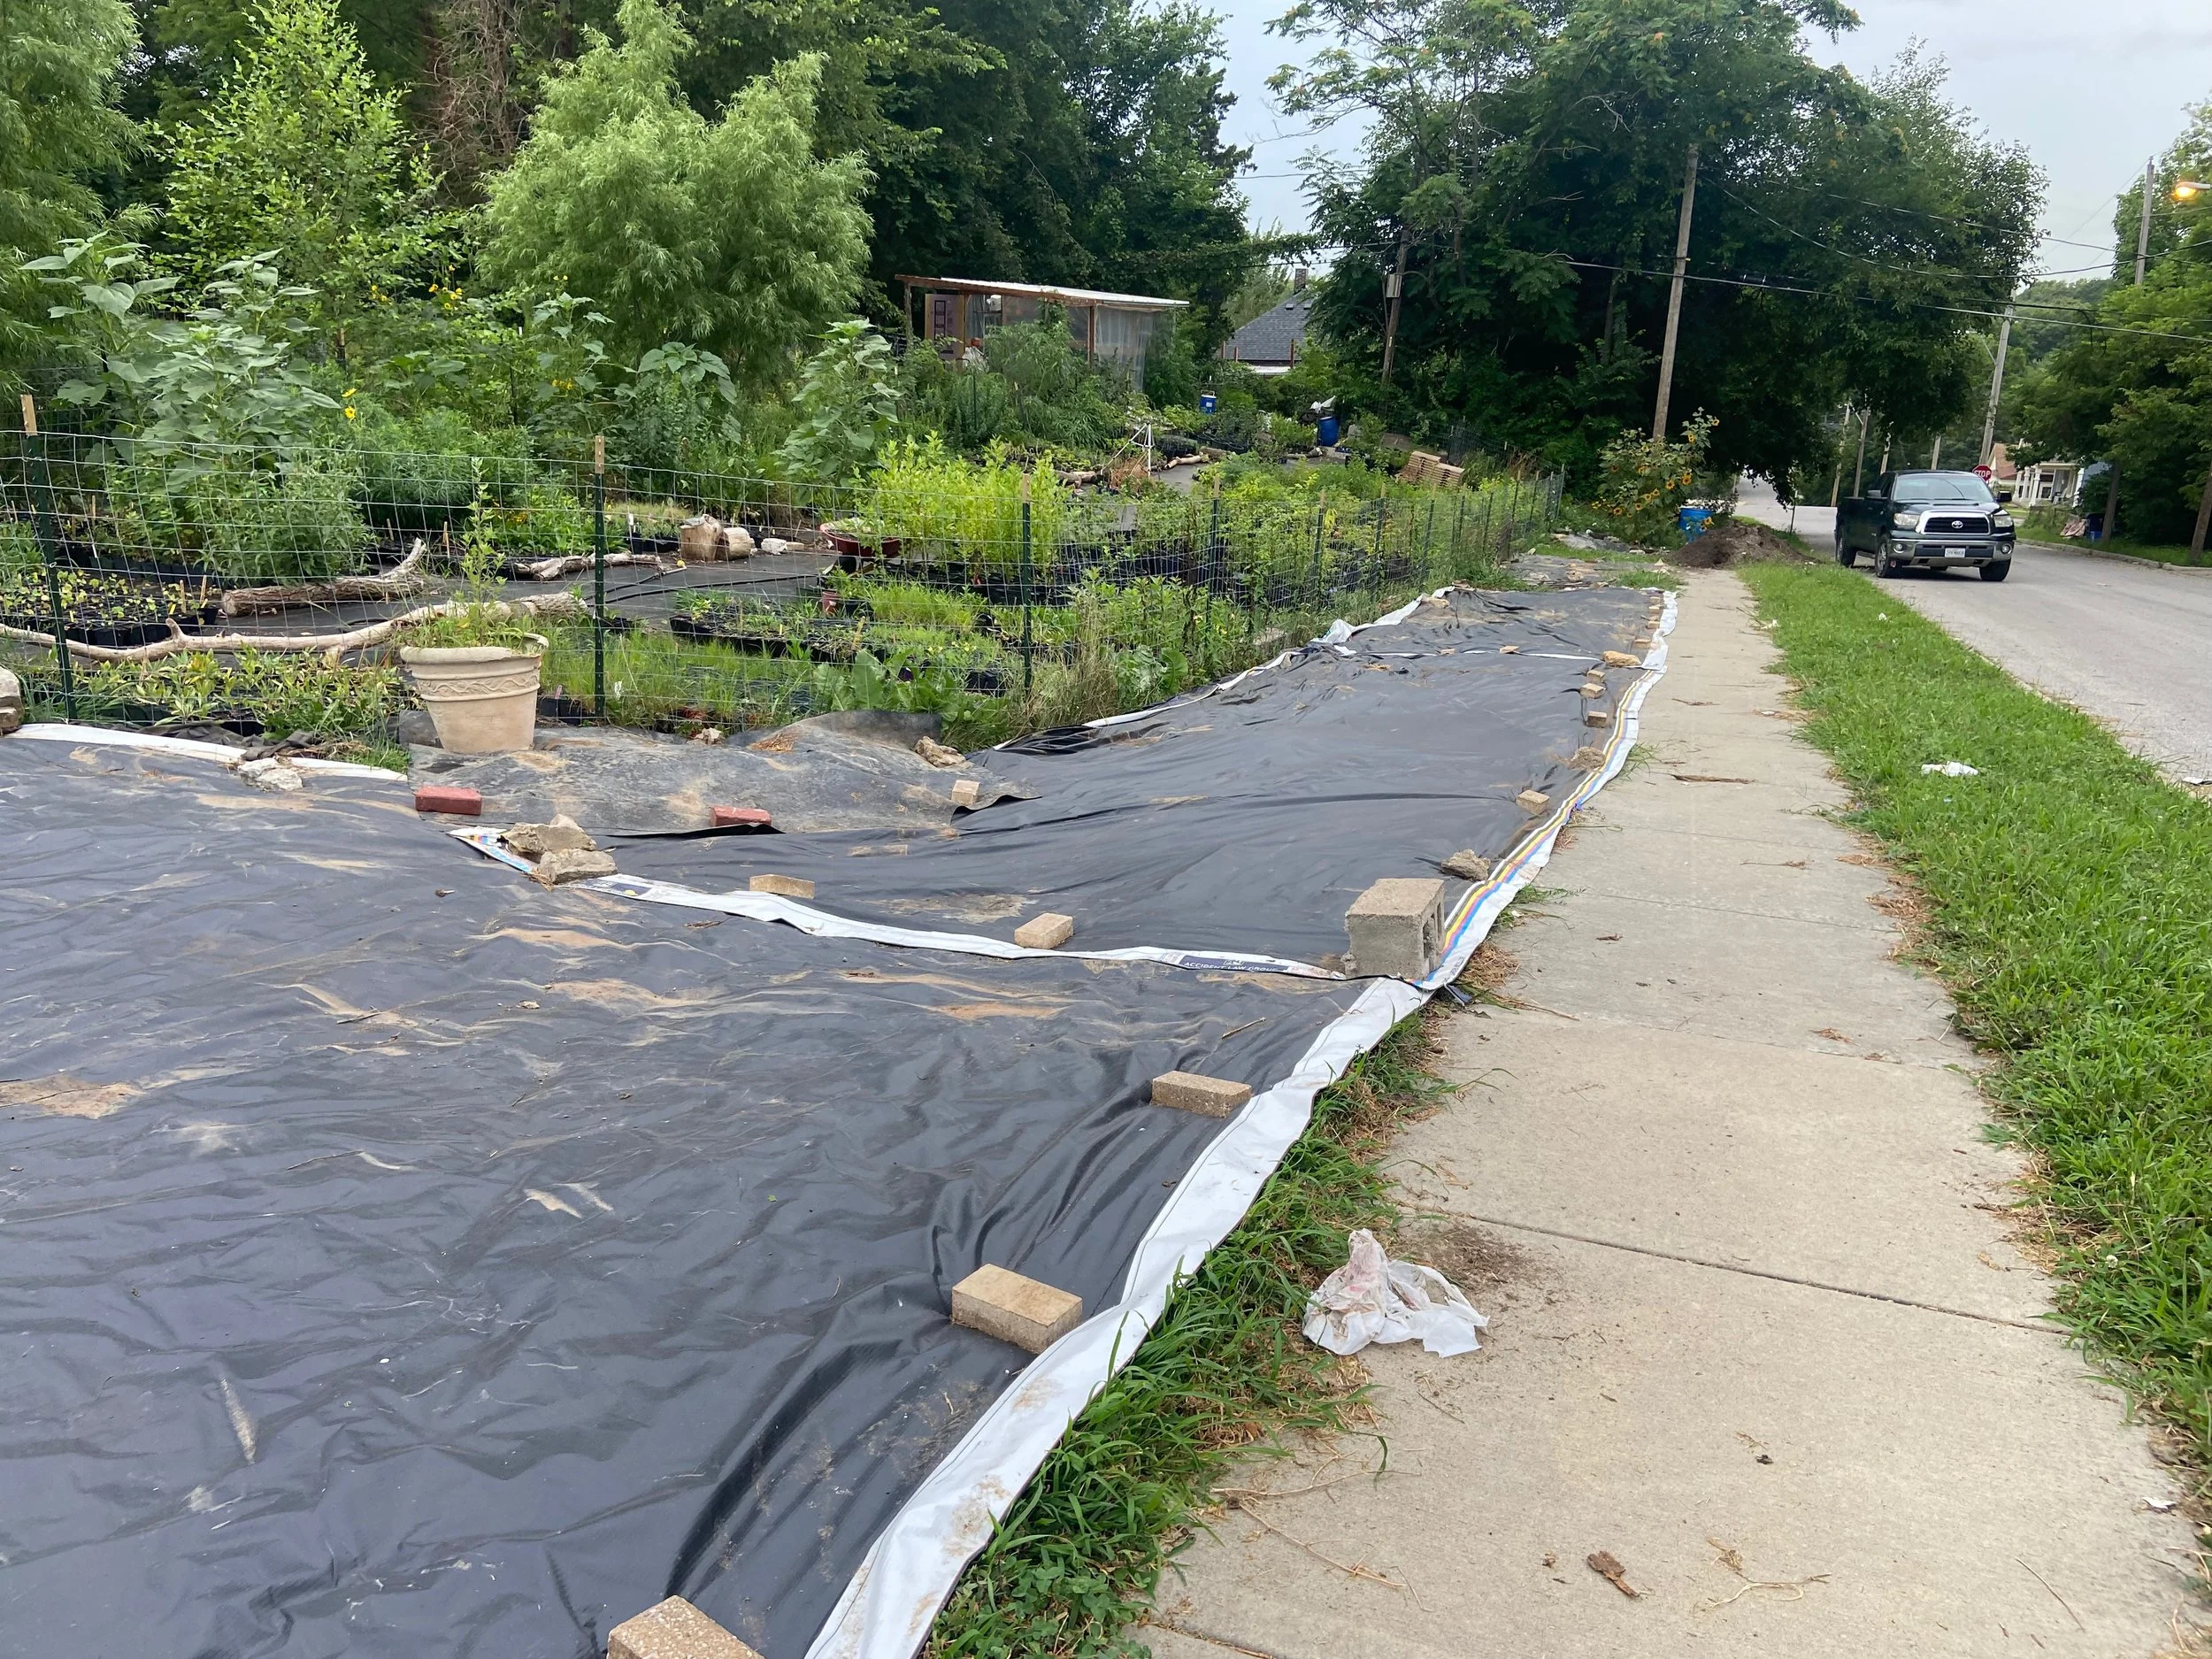
Solarizing:
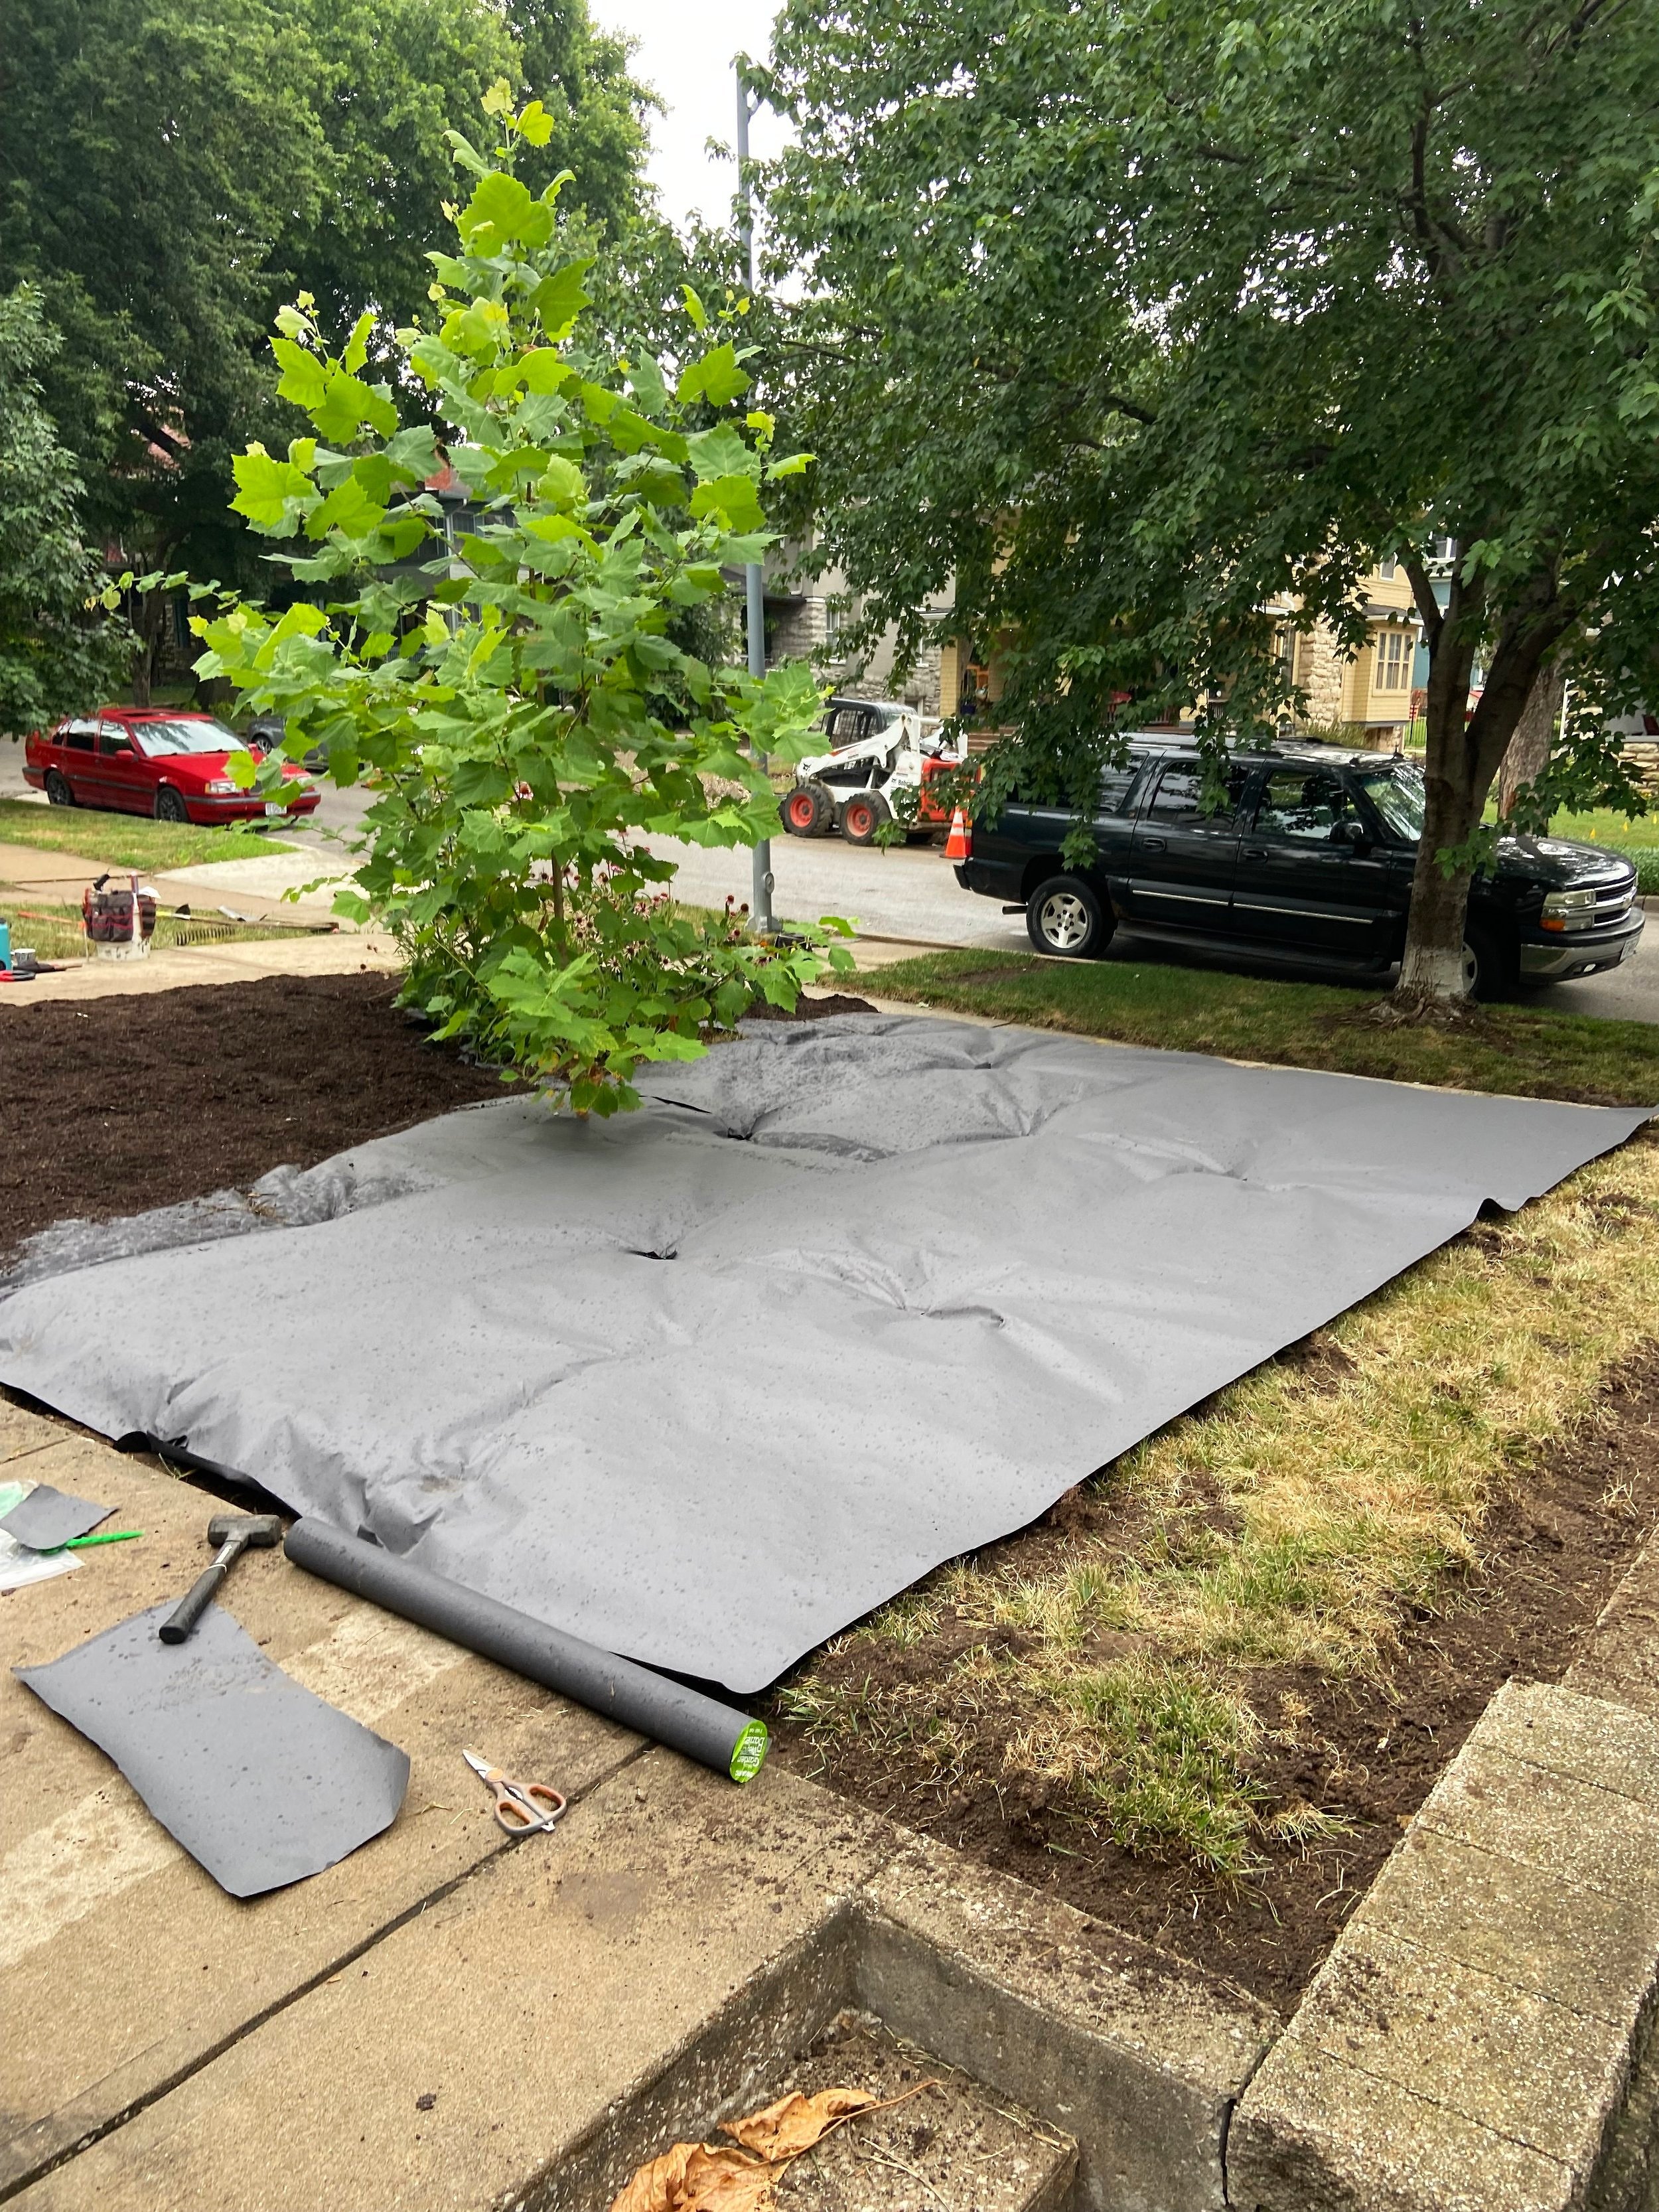
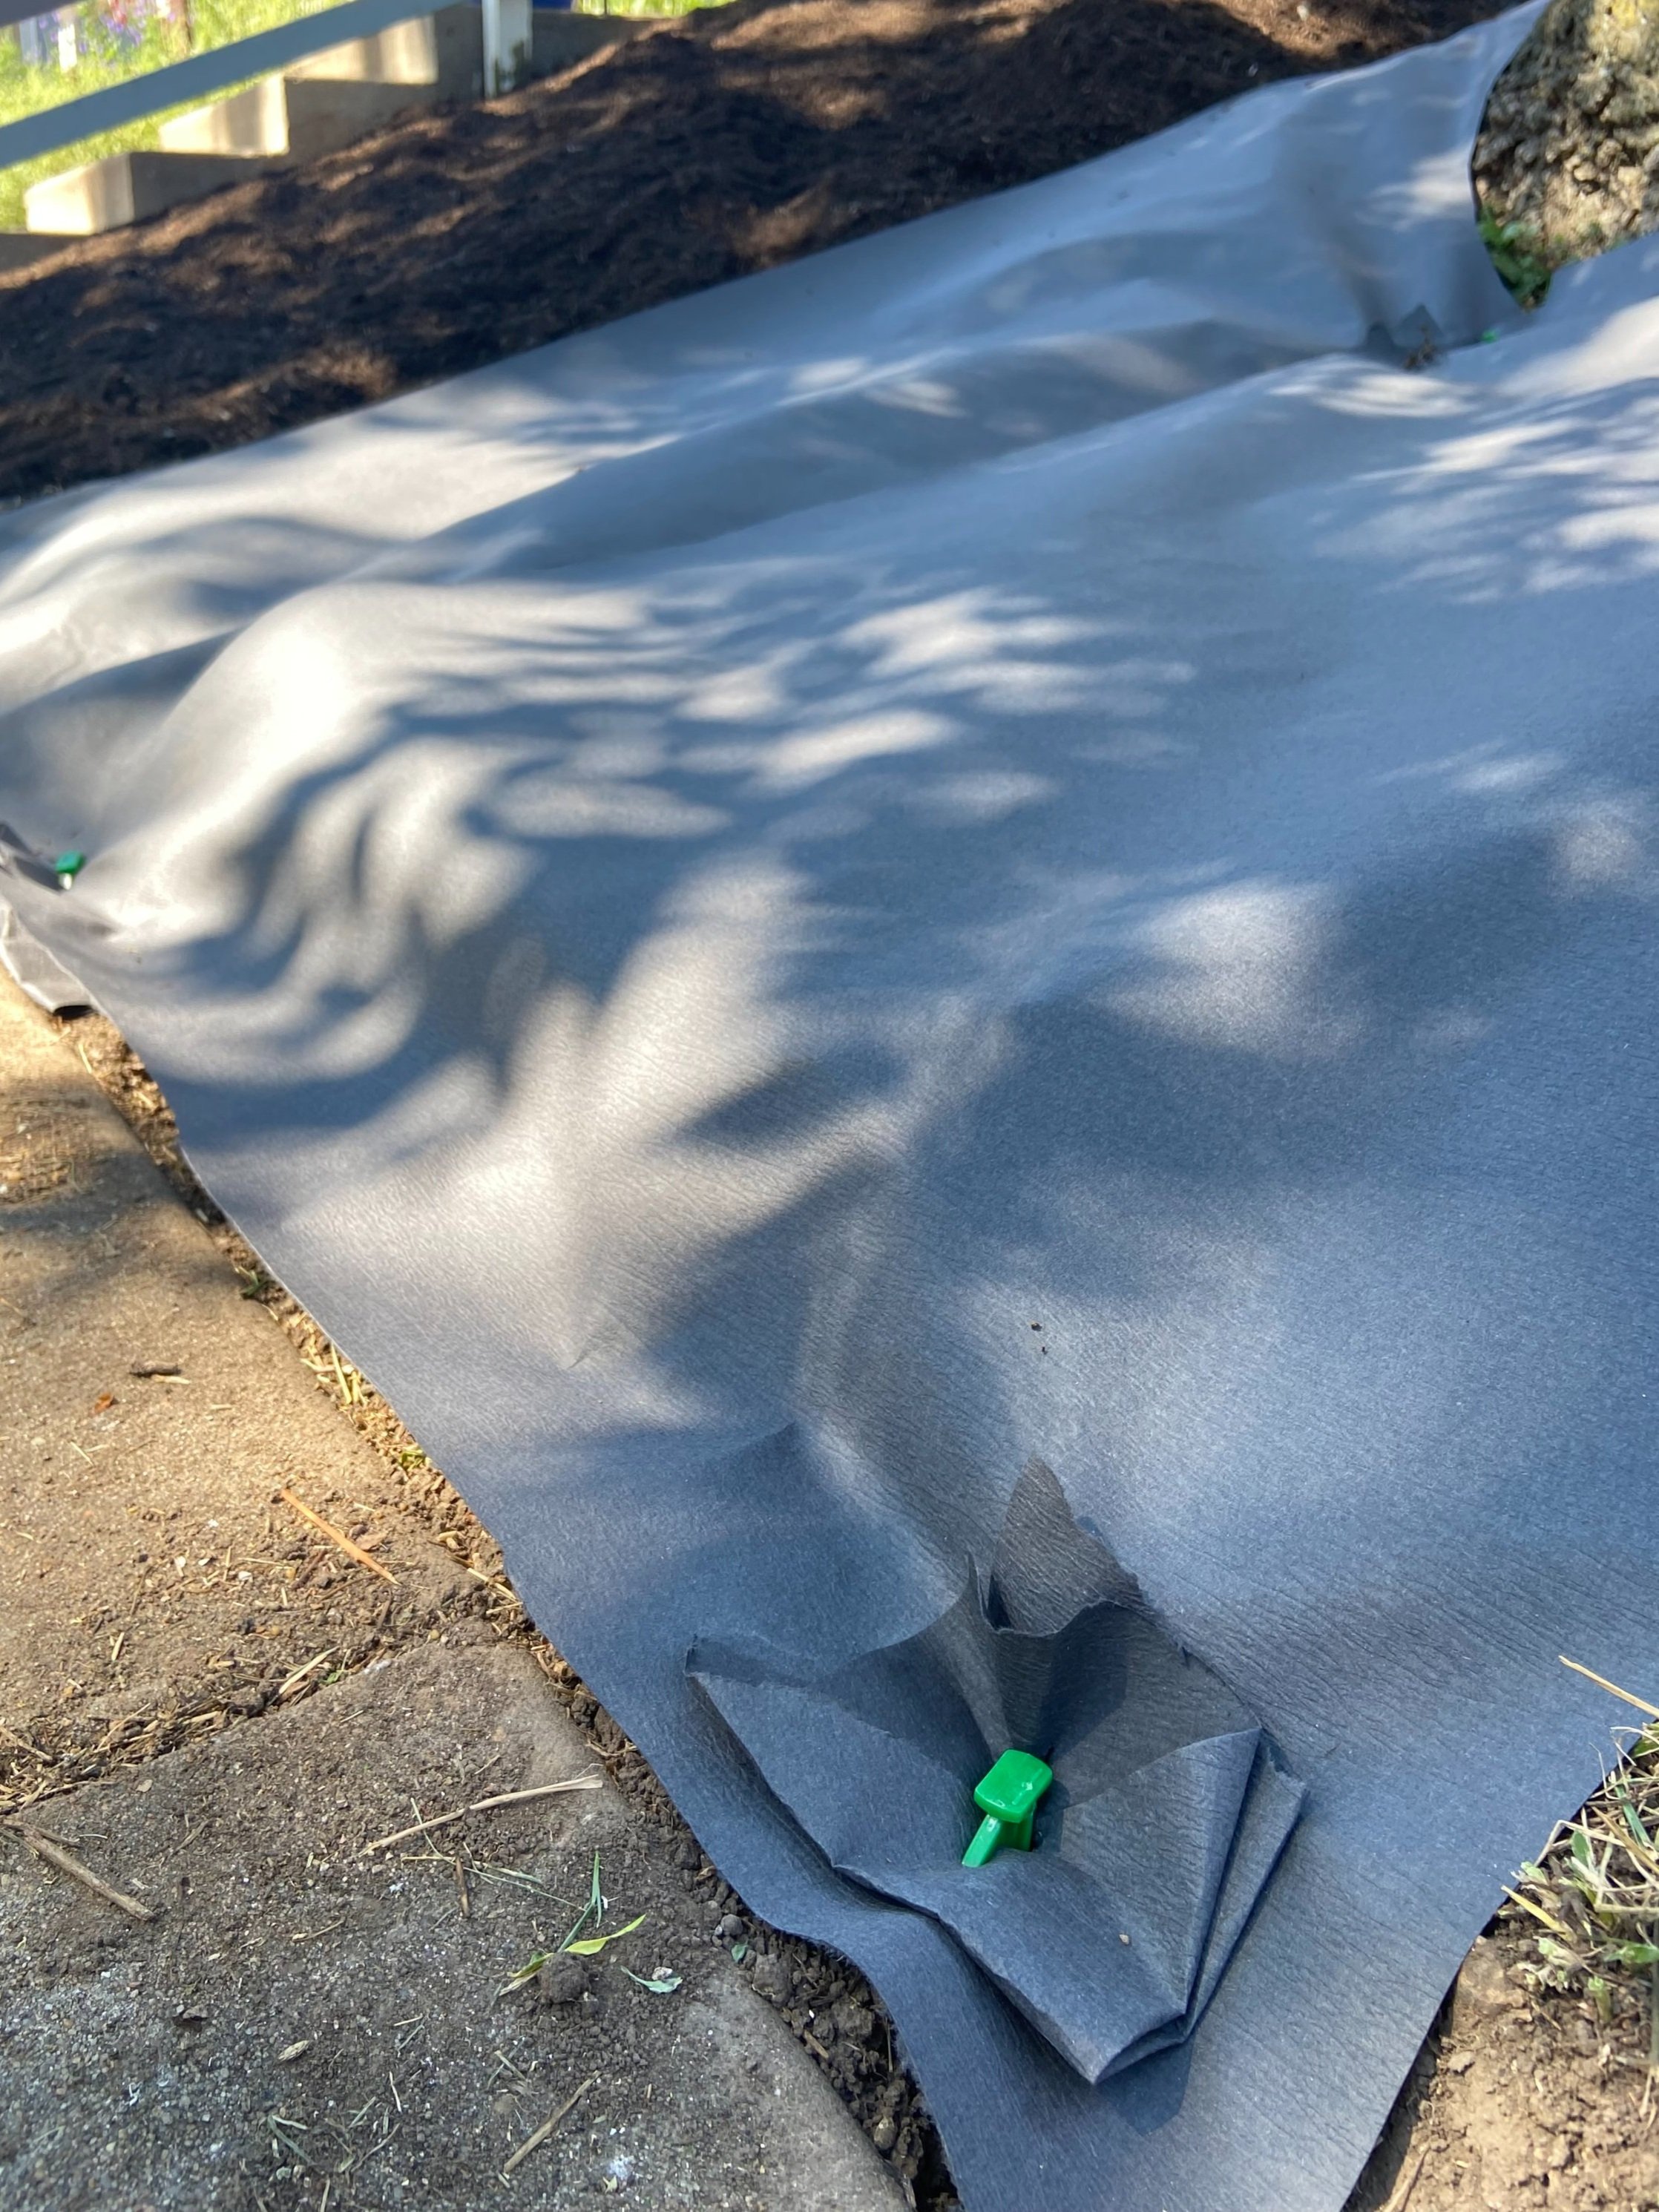
This method is good for lawns or areas with lots of sun abd people with access to old silage tarps. To solarize an area, you will need black plastic. Heavy duty woven weed barrier, old pond lines, and silage tarps are all great materials to use. The draw back of solarizing is that you are probably leaching micro plastics into the soil. However it does make great snake habitat for a season. Careful when you lift the tarps.
After you have acquired enough material to cover your space, lay it out as close to the ground as possible. Next, either fasten it down with heavy duty sod staples or weigh it down with heavy items such as rocks, bricks, logs, sandbags, or whatever you have at your disposal. Leave the area covered for at least 2 warm months, but preferably the whole summer. This method works by cutting off light to the vegetation underneath while cooking weed seeds in the area to prevent them from germinating. This methods works best if you can put the tarps down in the late spring once some of weeds have started growing and then leave it on until mid summer remove the tarps for a couple days and wait for the warm season weed seeds in the soil to germinate. Once weeds are growing tarp the area again and leave it covered until you are ready to plant in the fall or the following spring.
Sod Cutting:
This method works very well for making bed shapes in lawns. Especially if your looking to get a project done quick. This method will not work on steep hills, as the sod cutting machine is too heavy and difficult to attempt to operate. This method is very labor intensive. You will need to first rent a sod cutter, most local tool rental business will have one. Next layout a string line or use spray paint to draw the shape you want to cut. Start cutting the outer perimeter first. Once your happy with the outer shape cut out the inside. Once you are done, you will need to find a space to dispose of the sod. Once You have finished cutting and cleaning the sod out of the area it is a good idea to bring in some compost or garden soil. If you like mulched beds, lightly mulch the area as well. Once you have finished these steps you can plant immediately.

Quick Tips:
Calculating square footage: Length X Width = sqft
Calculating compost and soil: 1 cubic yard cover 100 sqft or garden space at 1-2 inches deep
String lines are great for laying out and visualizing new bed shapes
Burlap or Jute Fabric is great for covering lose soil or compost on slopes to prevent it from washing out. You can even cut holes in it and plant with it down. it will break down in a couple of seasons.