
Planting Native Plants:


Preparation
Before starting a new planting we find it is best to layout all the plants in your design first. This will allow you to make adjustments to spacing or the layout as needed. Designs on paper always seem to need slight changes once they are actually laid out in a physical space.
Planting
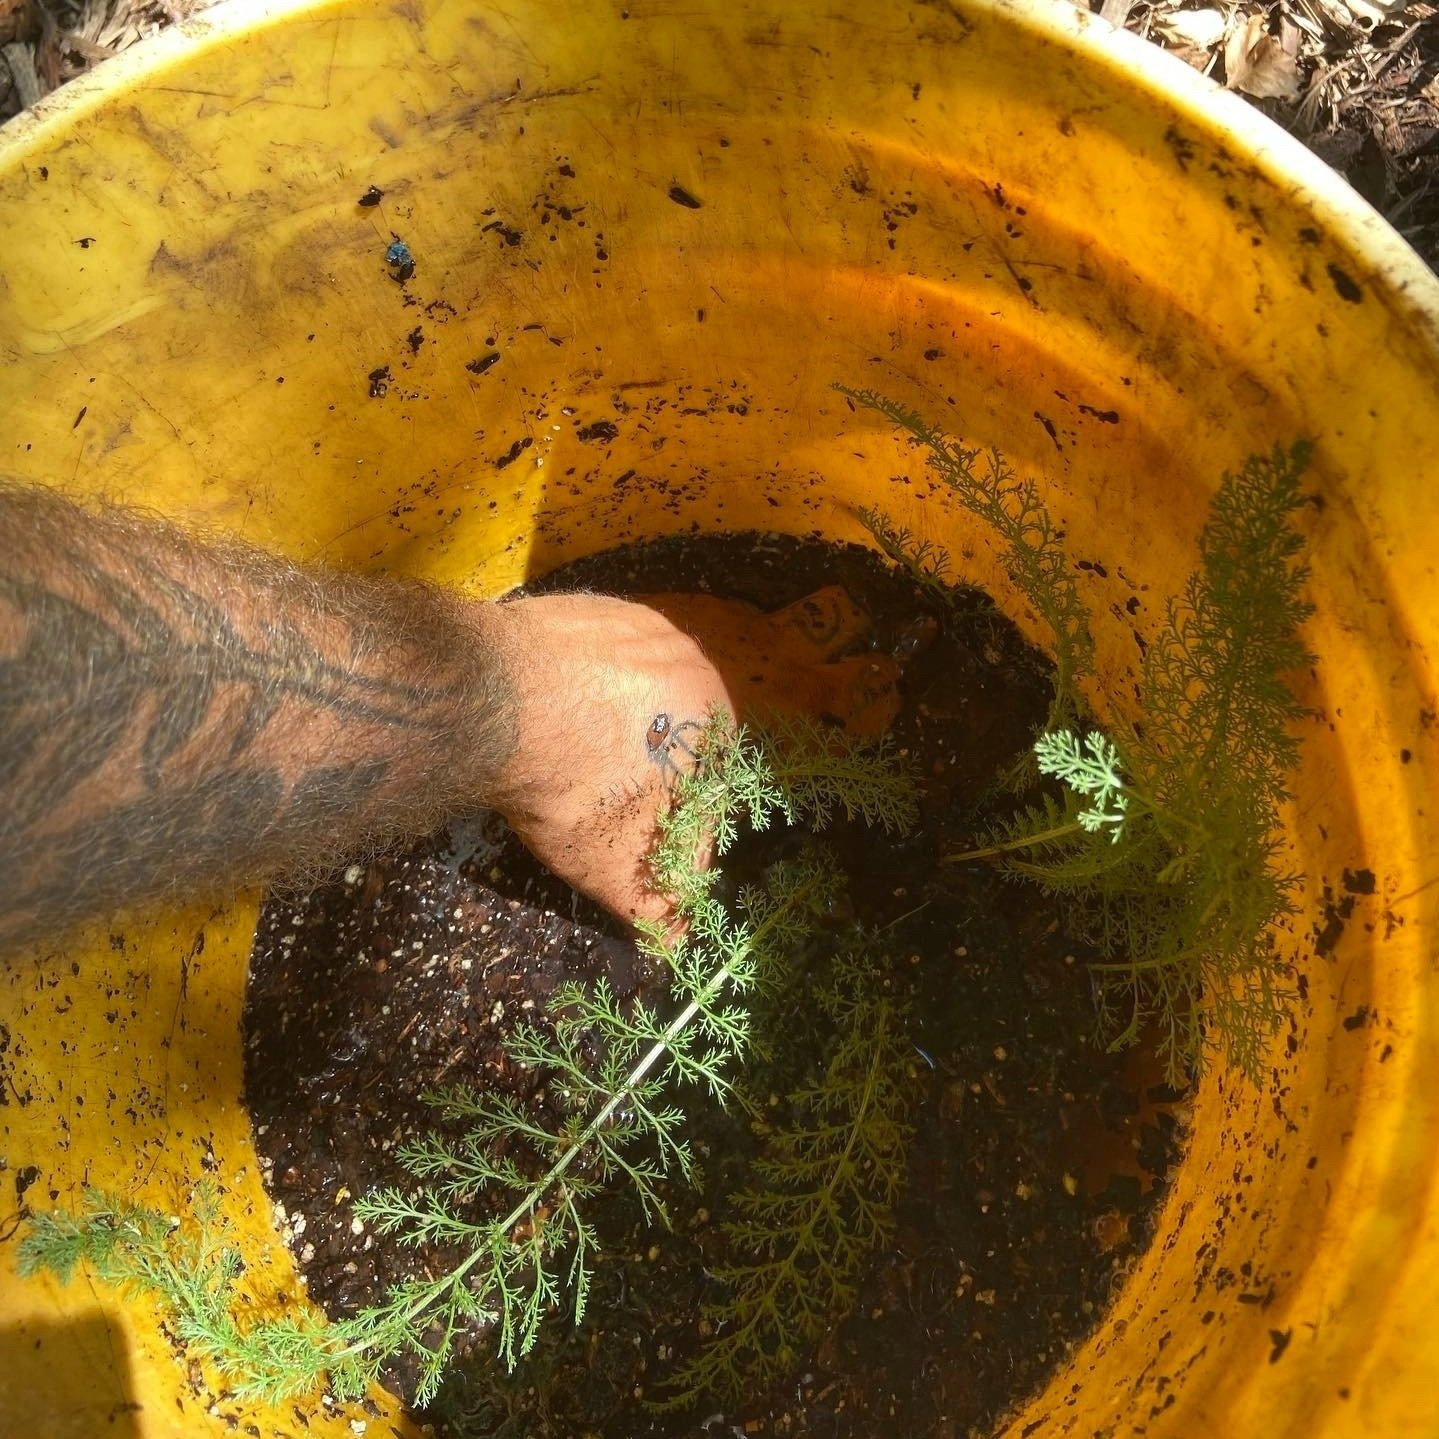
When planting, dig a hole as deep as the pot and a little bit wider. Make sure the walls of the hole aren’t to smooth and compacted. If they are, we scratch up the walls to make them rough. This makes it easier for new roots to stretch out into the soil. Next remove the plant from its pot and gently loosen up the root mass.
Now it is time to place the plant in the hole. When planting, a good rule is that it’s better to be to shallow than too deep. Pay attention to where the potting soil meets the stem of the plant and try to keep it at the same height as the top of your hole. Make sure to not put to much soil or mulch up around the collar of the plant. Sometimes in areas with heavy clay or hard soils, we find it can be difficult to refill the holes without leaving big air gaps, so we keep a bag or bucket of topsoil or compost on hand to mix with the existing soil. Gently press down on the soil around the plant to remove air pockets, but be sure to be gentle enough that you do not compress the soil or the roots. Once the plant is planted, water the plant in gently. Water the plants every day for 3 or 4 days and 3 times a week for the second and third week in order to help them establish.
